Propagating cuttings is a great way to multiply your collection while also keeping your collection safe.
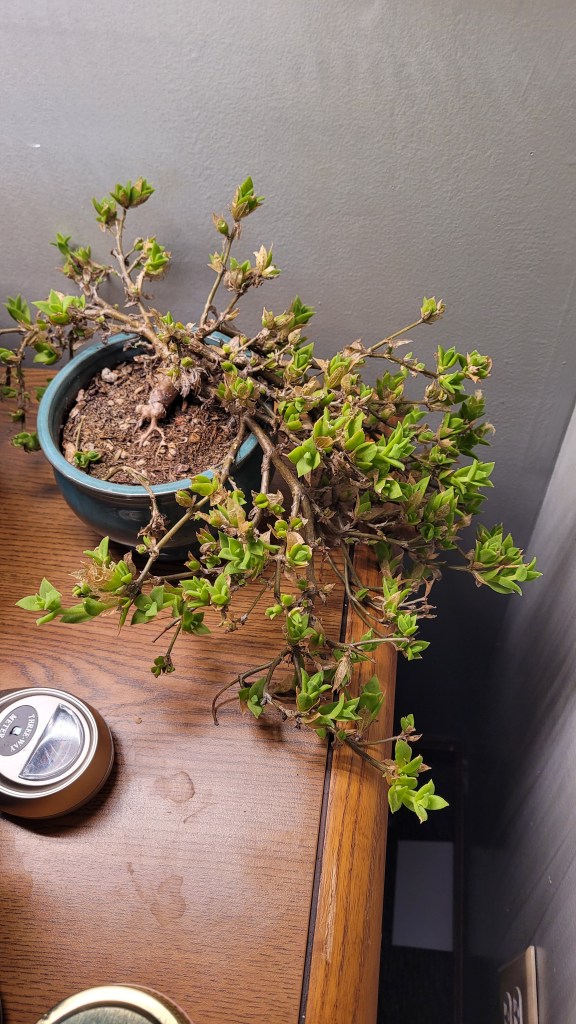
Ex: You have one Kanna plant that you like due to genetics, potency, aesthetics, or sentimentality. If something happens to that plant and it dies, that individual plant is gone forever. On the other hand, if you take 10 cuttings of that plant, you have at least 10 chances to not mess things up. If one of those cuttings dies, you still have the mother plant (the plant you are cutting from) and 9 other plants.
Also, cuttings are a great way to experiment and try things out. I would never have been able to experiment with hydroponic kanna (article coming soon) if I didn’t understand that it was an option to clone a plant from a cutting. Hopefully this guide helps you start to propagate your own plants through cuttings!
Note: Propagation through cuttings is a form of cloning. You are creating clones and not new genetic plants. Since Sceletium Tortuosum is not self pollinating, a clone will not be able to pollinate its mother plant. Cloning sounds daunting, but it is low tech and simple!
In this guide we will explore the humidity dome technique of rooting kanna cuttings. We will cover the whole process: from deciding if your plant is ready for cuttings to planting, and to checking roots.

1. Making Sure your plant can handle taking a cutting
Most of the time when I take cuttings, I am trying to minimize harm to the mother plant. You may want a lot of cuttings, but you probably don’t want to kill the mother plant.
To minimize harm to your plant, the first thing you want to do is assess whether or not your plant is ready to take cuttings, and how many you can safely take.
Make sure your plants have good development and growth before you take cuttings from them. A healthy developed plant can handle leaf losses much better than a small young plant.
A general rule that I keep in mind when taking cuttings is that you can take 1/3 of a plant without risking the life of the plant. Therefore, if you have a kanna plant with 20 branches, you can safely take 6 of those branches for cutting.
2. Choosing a cutting
If you decide your plant can handle some trimming, it is important to choose your cuttings carefully. Careful consideration is the difference between failed cuttings and new strong plants.
Two things I take into account for my cuttings are size and flowers.
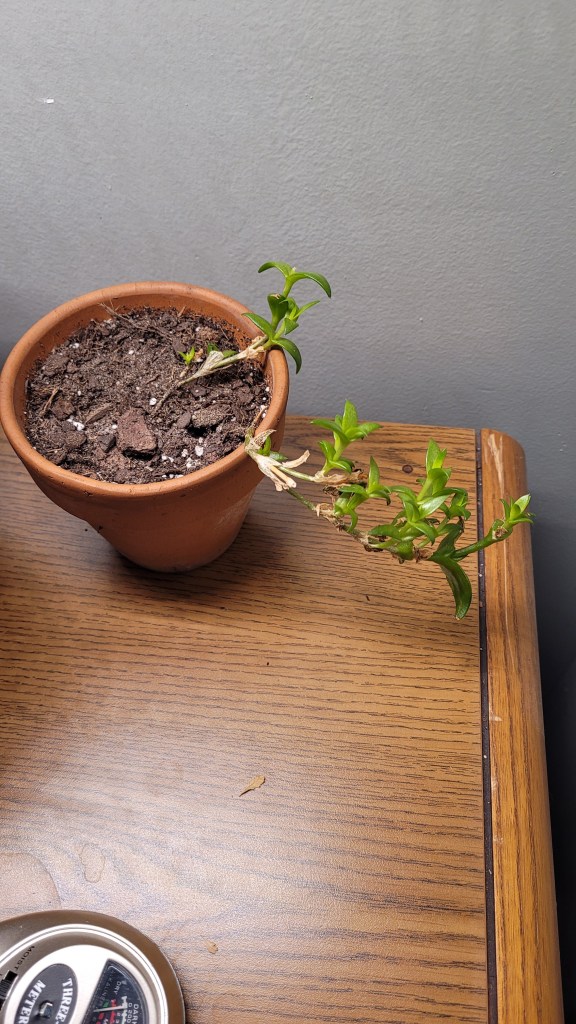
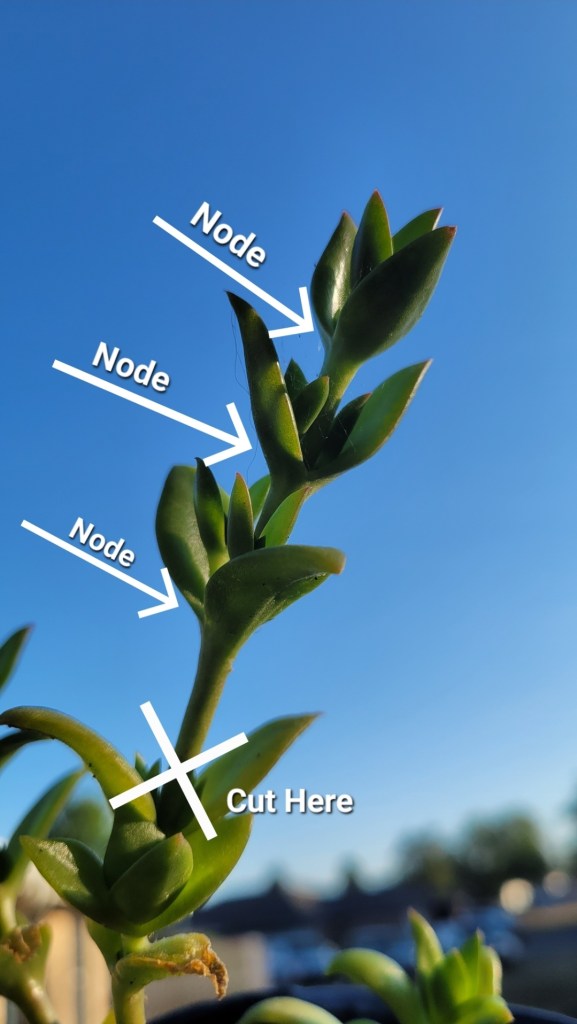
If your cutting is too small, it will be more difficult for it to root. I judge my cutting size by nodes (areas where new growth comes from. Ie, leaves). I look for my cuttings to have atleast 2 nodes with well developed leaves. Keep in mind that it takes energy for your plants to put out roots. Plants create their energy from photosynthesis which they need leaves to accomplish.
I also look out for flowers on my cuttings. If a potential cutting has a flower bud on it, I leave it alone and try to find another suitable cutting. Why? We talked about how your cutting needs energy to put out roots. A cutting with a flower on it is “wasting” energy to develop that flower. Basically, it has split interests in where to devote energy. It is better to choose a cutting that is solely spending energy on rooting.
Note: I have planted cuttings with flowers on them in the past. Some of these cuttings have rooted wonderfully and grown into beautiful adult plants. It obviously isn’t impossible for these cuttings to root, you just have less chance of success. I know well that plants are capable of many surprises.
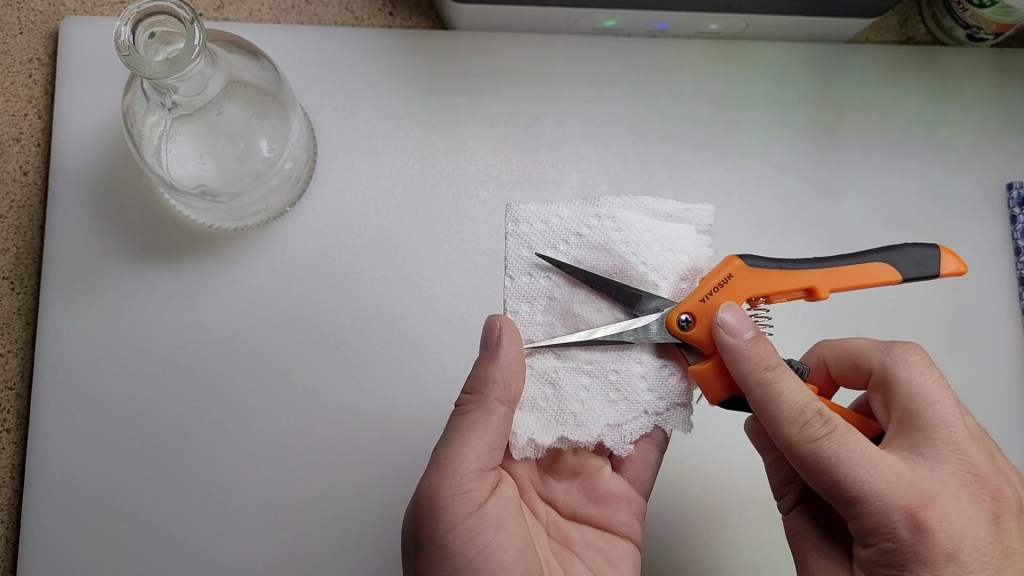
3. Prepping your cutting instrument.
You have your eye on the perfect candidate for propagation, should you just start cutting? No. Remember that one of the goals of propagating is to minimize risk to your plants. A simple way you can work towards that goal is to sanitize your cutting instrument. Taking this step will ensure you do not contaminate your plants with sickness or other issues.
I simply wet a paper towel with isopropyl alcohol and wipe down my garden pruners. I then let my pruners air dry for a few seconds before I cut. This should take care of any plant borne diseases that may be present.
4. Taking your kanna cutting
When taking your cuttings, remember two things: leave a little bit of stem and don’t damage surrounding branches and leaves. I recommend using pruners vs knives. Pruners allow for precise cuts with minimal chance to slip and damage other parts of the plant.
I give my cuttings a little bit of stem below the bottom node. Your roots will grow from the stem, and your stem will help anchor your cutting into the soil later on.
Position your cutting tool in a way that ensures you only cut the stem where you want to cut. Make sure you don’t accidentally cut any other leaves. If you have to push other parts of the plant out of yhe way, treat them gently so they don’t bruise or tear.
5. (Optional but recommended) Using rooting hormone on your cutting.
Right after you have separated your cutting, dip the freshly cut stem into rooting hormone. As the name suggests, this will encourage the plant to send out roots. You don’t need this product to have success in propagating cuttings, but it seems to help my cuttings set out roots.
6. Let cuttings sit 1-2 days
Set your cuttings aside in a safe place for a day or so. I usually end up planting mine 12-24 hrs after cutting, but I have let them go for up to 48-60 hrs before planting.
This step should let the cuttings form a callus and encourage rooting when put in soil.
7. Prepping your grow bed
Kanna likes a low amount of organic matter and fast draining soil. To achieve this mix I take some succulent/cactus soil mix and introduce some perlite. I don’t measure usually, but I shoot for 30% perlite in my soil. This helps the drainage and gives reduces the total organic matter percentage. Throw in a handful of the coarse sand too. Shoot for 20% sand.
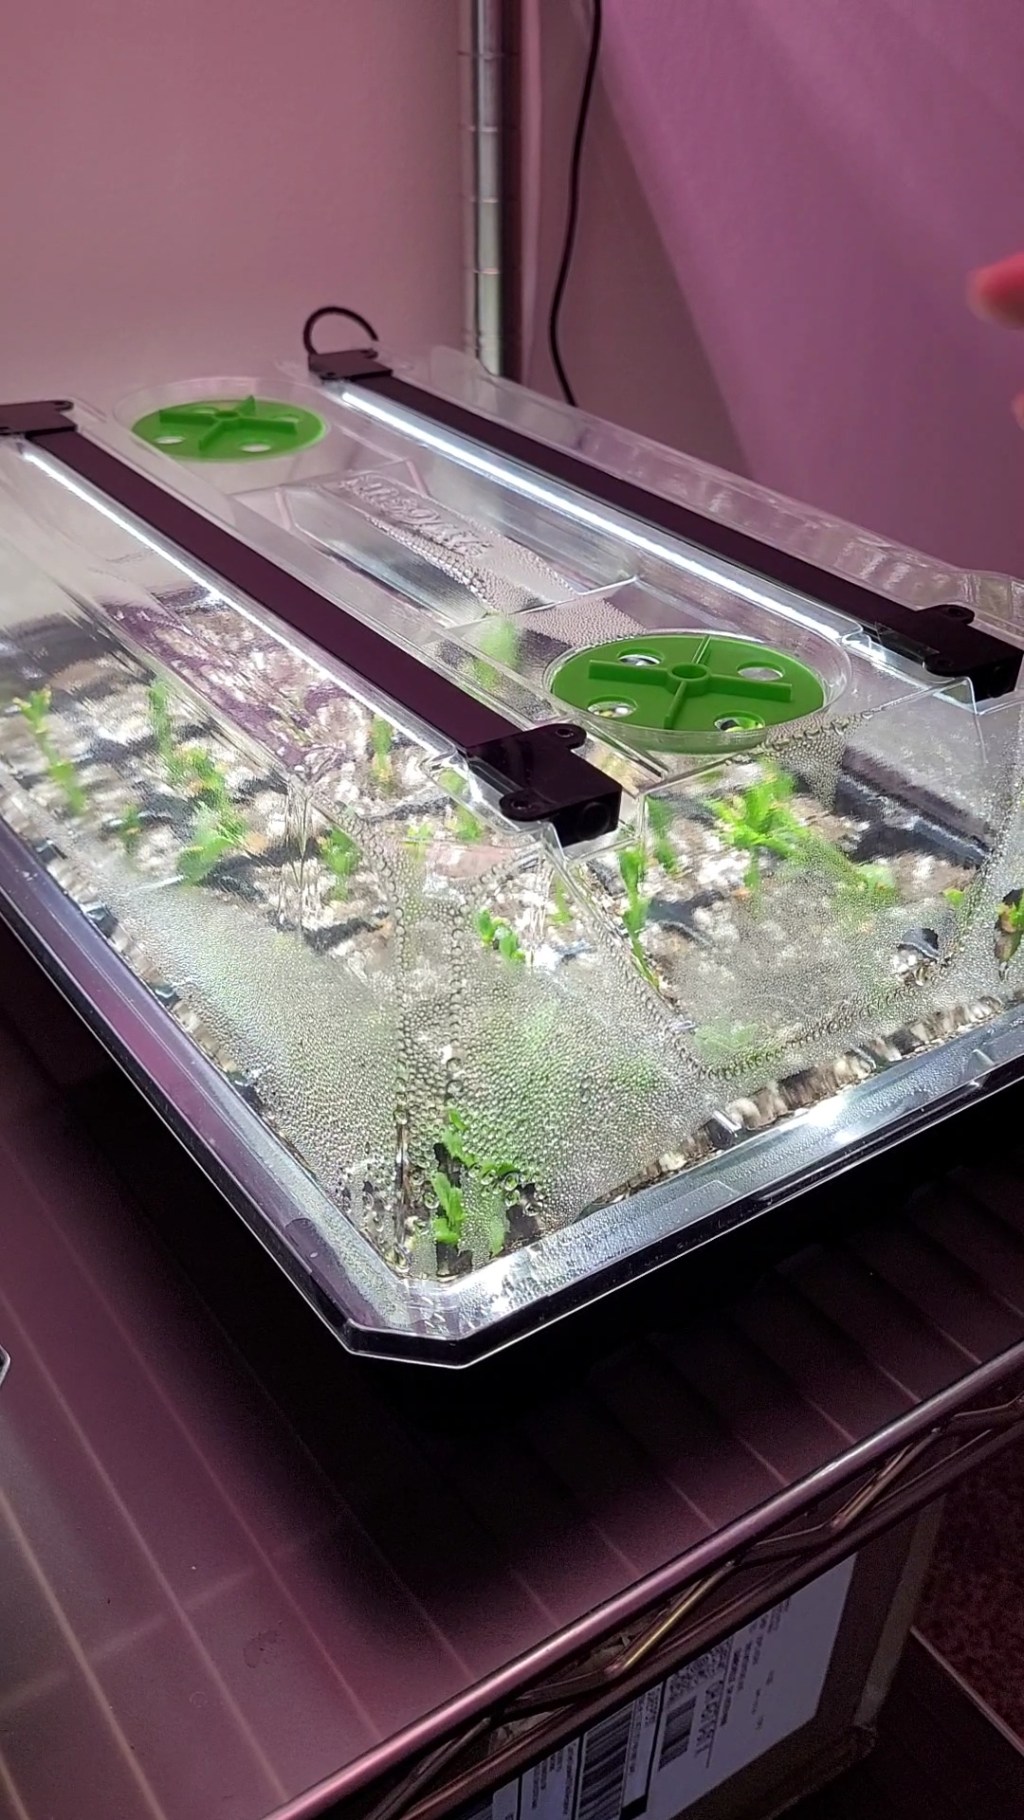
Take your soil and place into your rooting bed. I use a 40 cell bed with a humidity dome, two build in vents, and 2 integrated grow lights. You don’t strictly need this set up, but it has been fantastic for me.
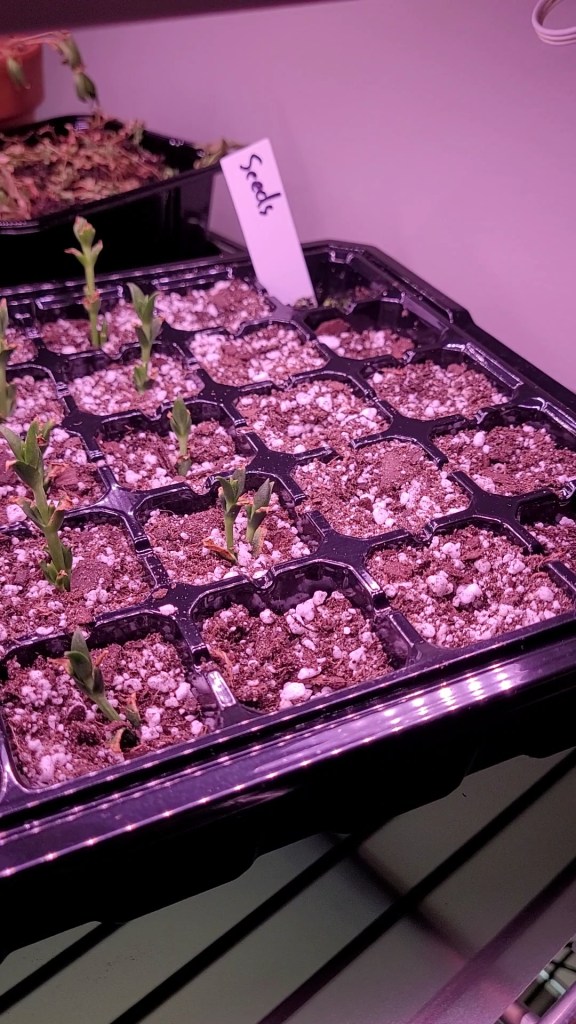
If you don’t have a set up like mine, you can simply put your soil into a small pot, place the pot in a plastic bag for humidity, and then place your set up in a sunny window.
8. Put Cutting into your growing bed.
Make a small indentation into the soil where you want your cutting. Place your cutting in to the indentation up to the first node. (Don’t bury any leaves as they will most likely rot.) Tamp down the soil around your cutting to secure it into the soil.
Once your plant is in the soil, give it a small amount of water. I try not to soak the soil, rather just moisten it.
9. Leave alone for at least a week
It will take time for your cutting to put out roots. I’ve found that the more I mess with my cuttings, the worse they end up. If the cuttings are warm, well lit, and have a bit of humidity, they should start to develop roots within a week or two. Just let them rest and put their energy into survival.
The only things you should be doing the first week is monitoring the humidity, adjusting the ventilation, and (if needed) watering.
I keep my vents closed for 2 days. I then crack open the vents. After this point I look at the condensation on my humidity dome. If it is covered in huge droplets I open up the vents to allow for some drying to start. Once the condensation has abated a bit, I close the vents half way. This allows some moisture to escape but also keeps some humidity in my dome.
Only add more water once the soil has mostly dried out. You’re trying to balance giving the plant the water it needs, but also forcing it to search for water with roots. A wetting drying cycle will help accomplish a strong root system.
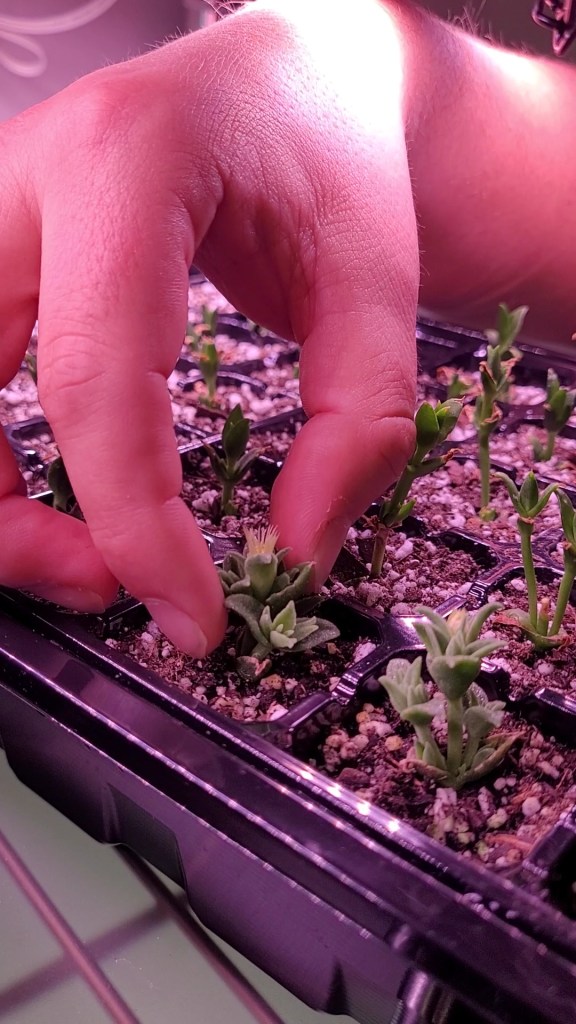
10. How do you tell if your plant is starting to root?
*This step is risky. If you test your plants too early, you might stop them from rooting altogether. It is best to leave your plants alone.*
ONLY TRY THIS AFTER ATLEAST 2 WEEKS.
If I need to test the rooting of my plants I’ll pull on them a little bit. Simply grab firmly yet gently near the base and apply a little pulling pressure. If you feel any resistance, stop! The resistance is the roots holding the plant down. Your plant has succeeded and you have roots! If your plant simply comes out of the soil, no roots have been formed. Orany roots that have been formed have been minimal. If your cutting doesn’t have any roots, you may as well put it back in the soil and wait longer.
11. Additional tips to ensure a healthy kanna.
Make sure you don’t let your humidity stay too high in your dome. That may cause mold to grow. You’re shooting for moist, not soaking.
It is easier to add more water vs take water out of soil.
Once you decide to take your plants out of the humidity dome, use a tool to pluck out the soil cell. Don’t just grab your plant and pull it out of the soil. Treat your new plants gently.
Have any questions or comments? Feel free to ask below!
One response to “How To Root Kanna Cuttings (Humidity Dome Technique)”
-

[…] Cuttings Guide […]
LikeLike

Leave a comment